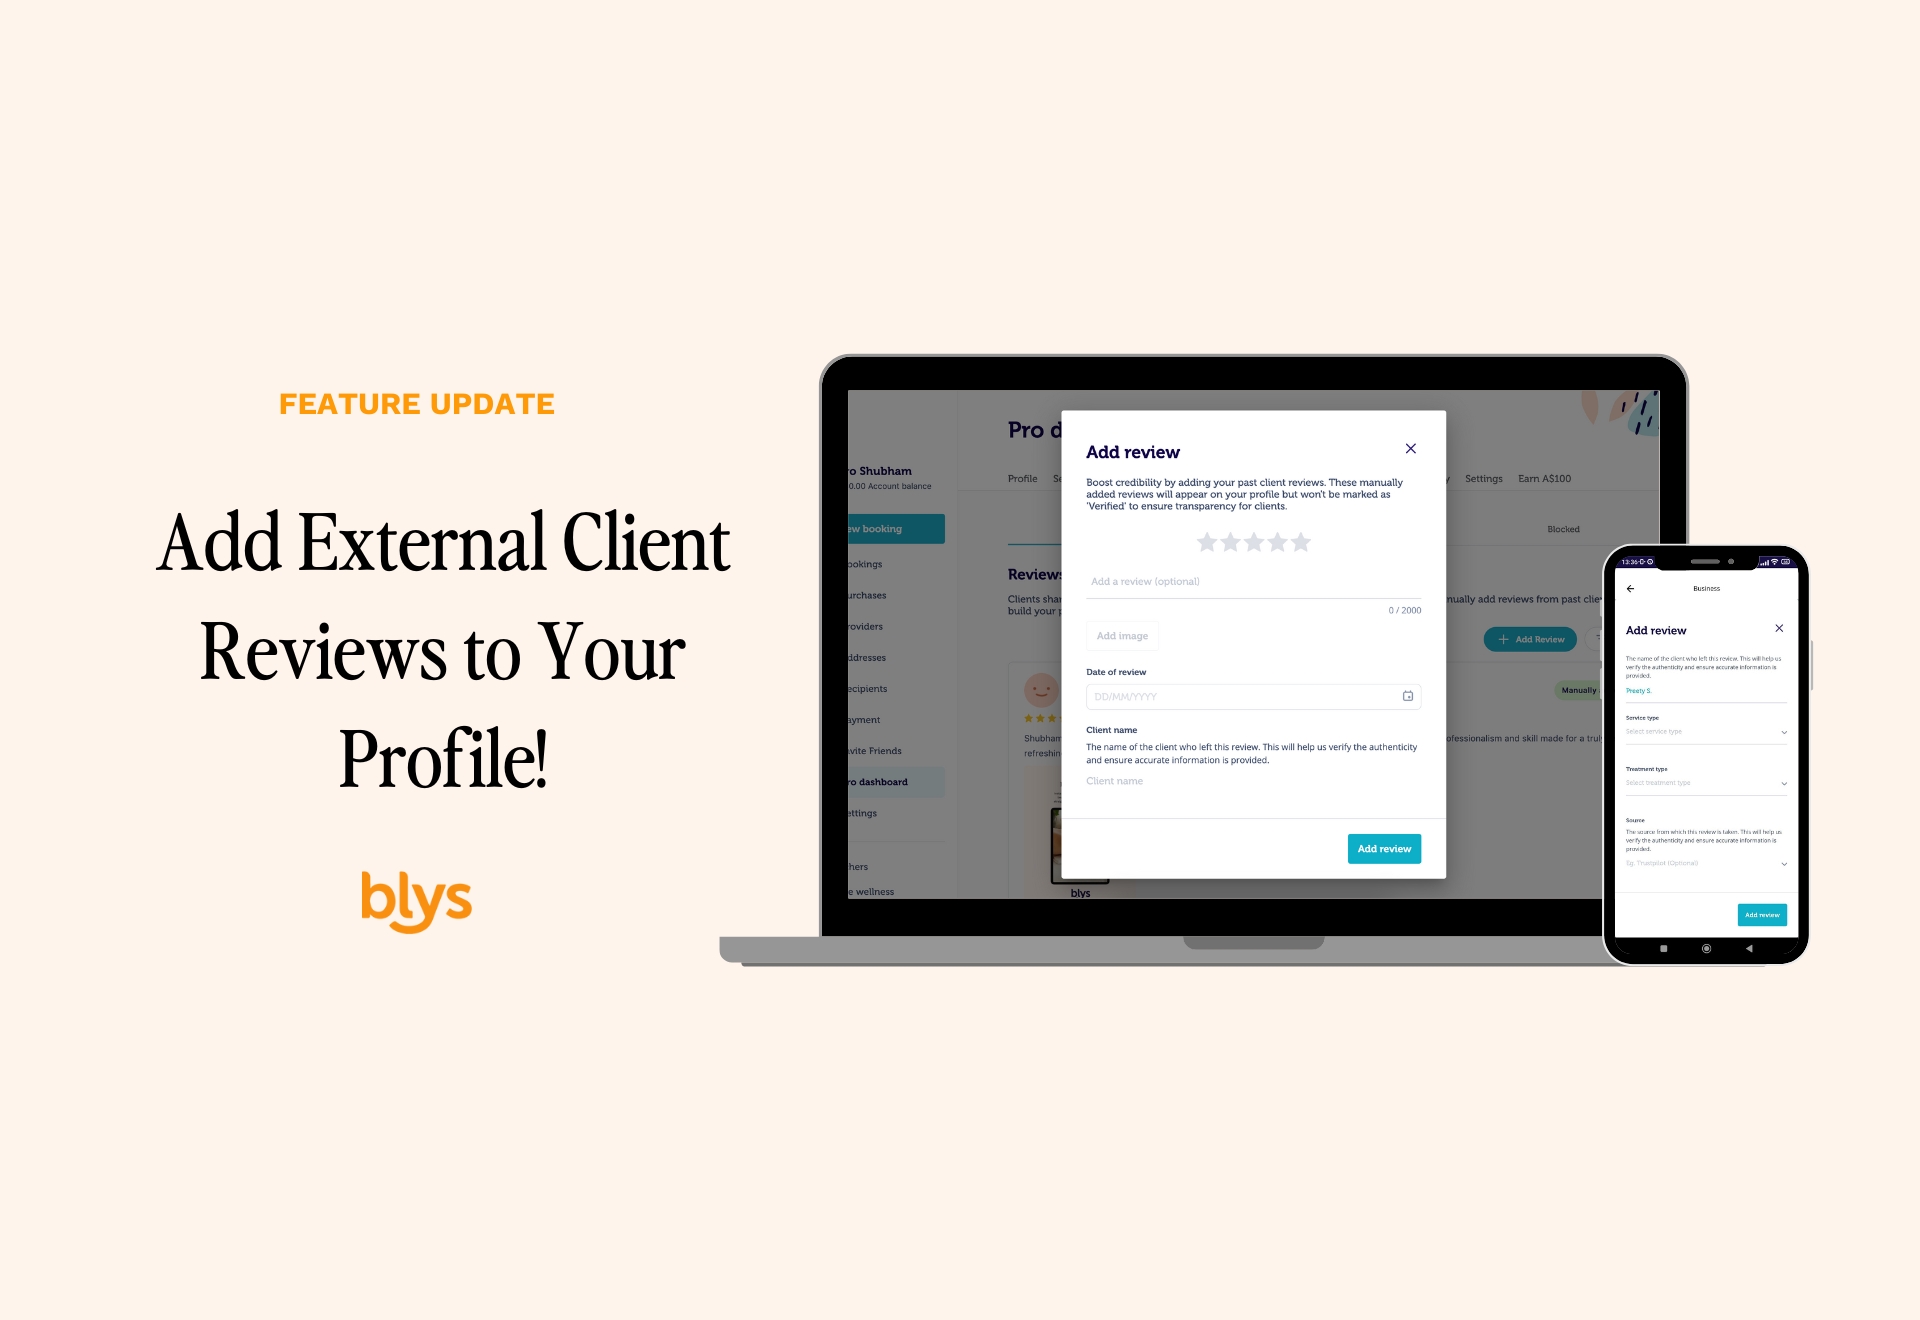
At Blys, we’re always working on ways to help providers grow their business and attract more bookings. That’s why we’re excited to introduce a new feature to give your Blys profile more credibility so that you can get those bookings streaming in. Providers can now add external client reviews to their profiles!
So, if you received client testimonials outside of Blys – such as Google, Facebook or even via email, you can now showcase them on your Blys profile.
Previously, providers could only display reviews that were collected through Blys after completing a booking. But we understand that for wellness professionals who are new to the platform, expanding into new services, or operating in a new market, having few (or no) reviews could make it harder to secure bookings. To solve this, providers can now manually add client reviews from other platforms or sources to their Blys profile.
To ensure transparency, these manually added reviews will not be marked as “Verified”, while reviews collected directly through Blys remain verified.
How Does This Help You?
- Boost your profile’s credibility – A strong set of reviews helps build trust with potential clients prior or even after your bookings. Whether you’re a seasoned provider, or a new one, this update will help you strengthen your profile.
- Attract more bookings – Clients are more likely to book a provider with positive feedback. No lack of transparency, no lost opportunities.
- Showcase your experience – Even if you’re new to Blys, you can display reviews from your existing clientele, adding to your professionalism and credibility.
How It Works
Adding reviews manually is easy! Here’s how:
For Mobile
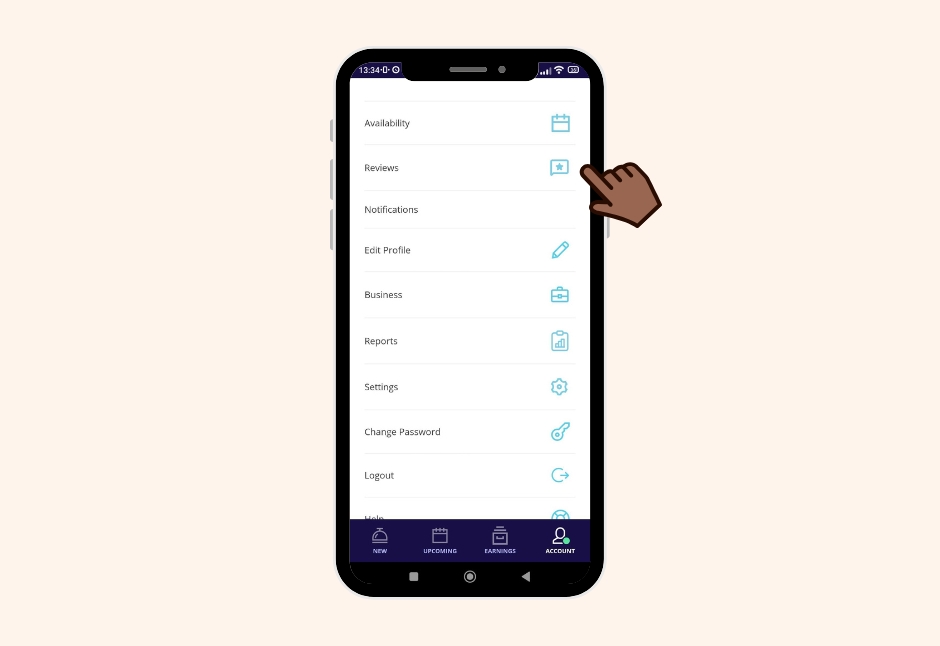
1. After opening your Blys Pro App, head to your Account and tap on Reviews.
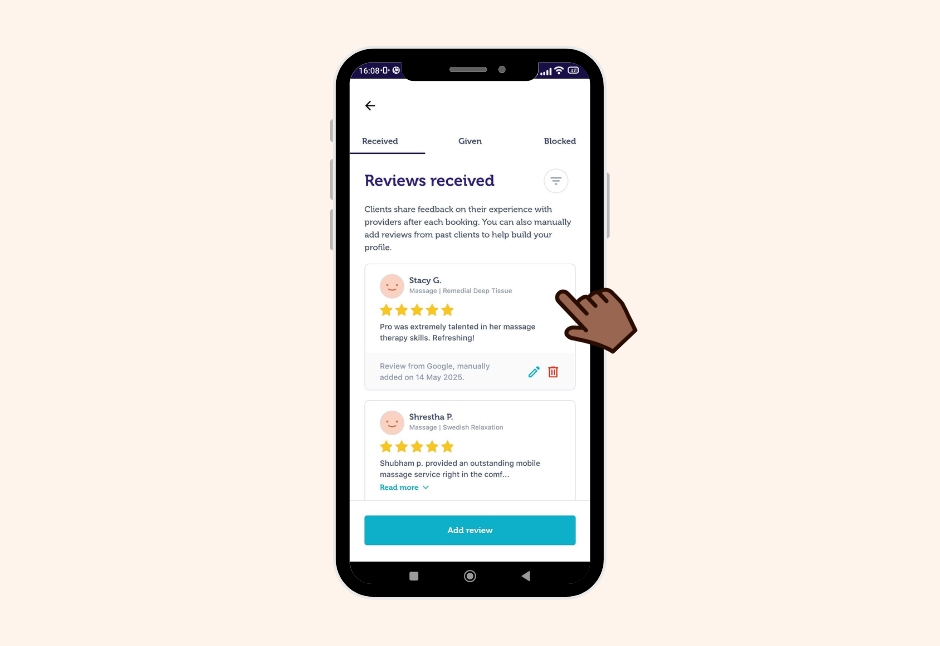
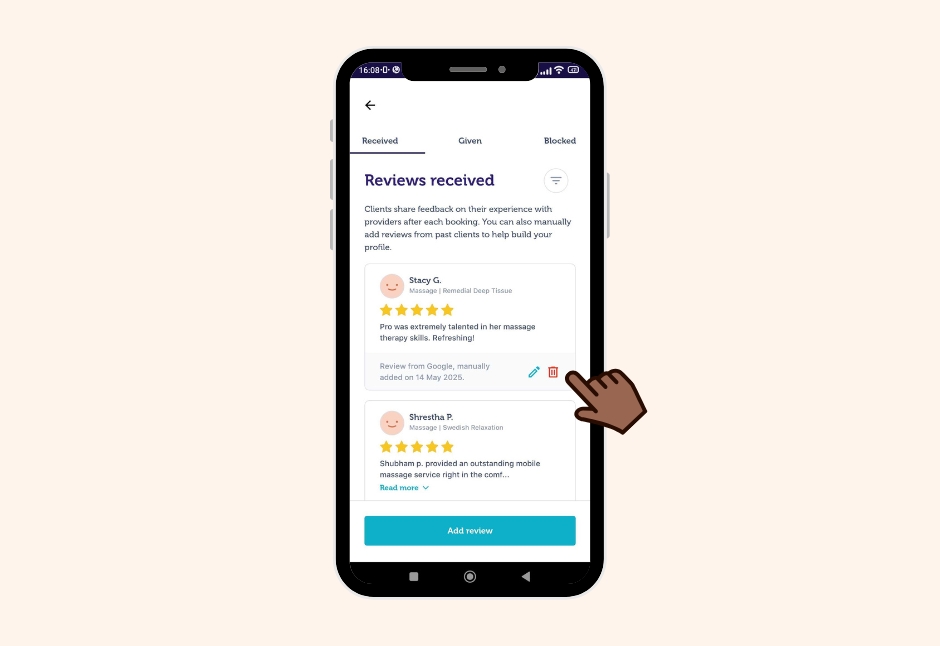
2. Navigate to Reviews Received.
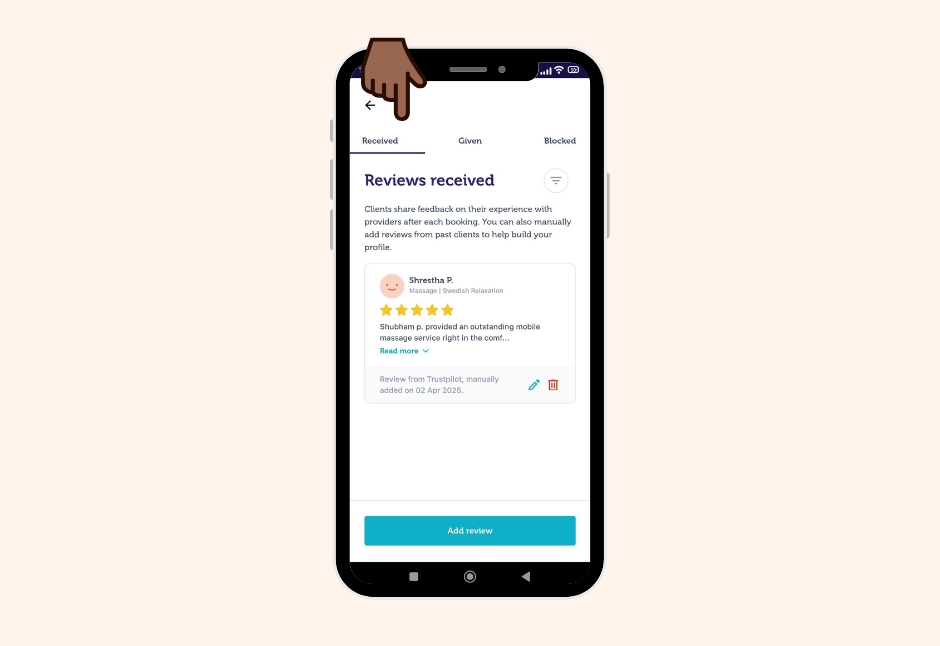
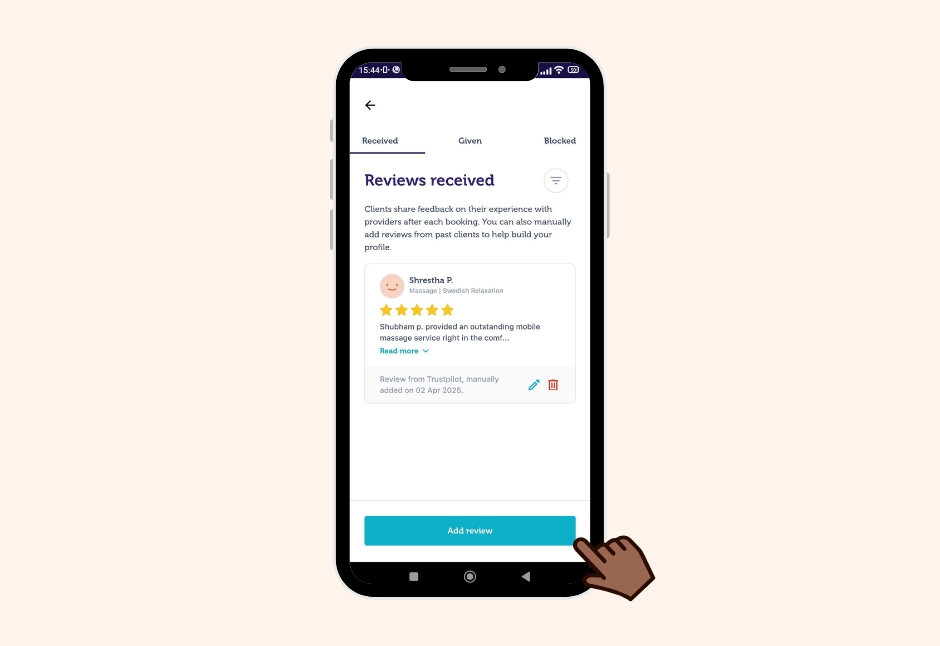
3. Tap on Add Review.
4. Provide a Rating and add the Review description. You can add images if they’re available, and if you wish to.

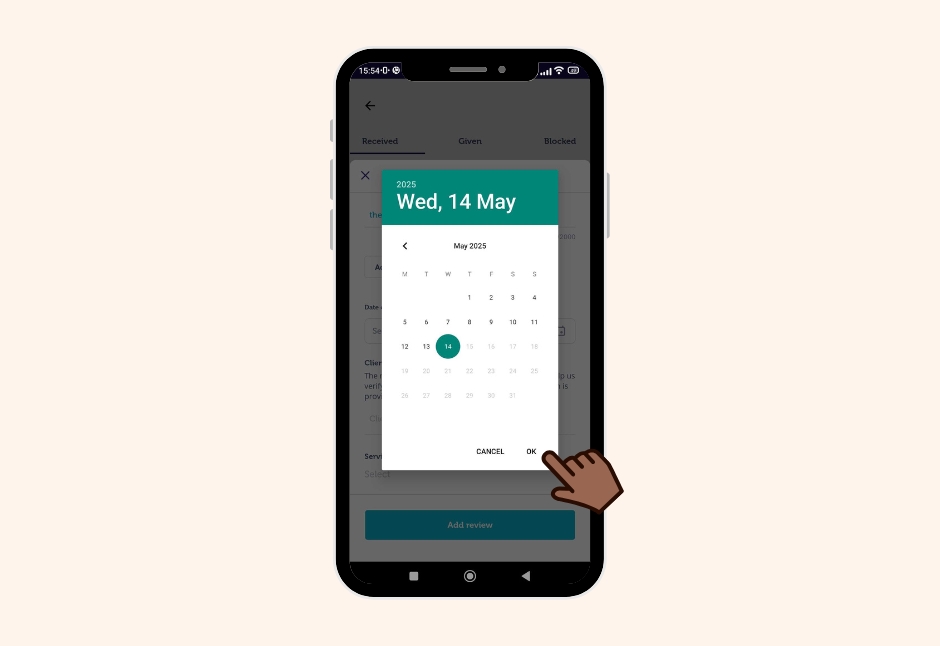
5. Add the Date of Review.
6. Add Client’s Name for authenticity.
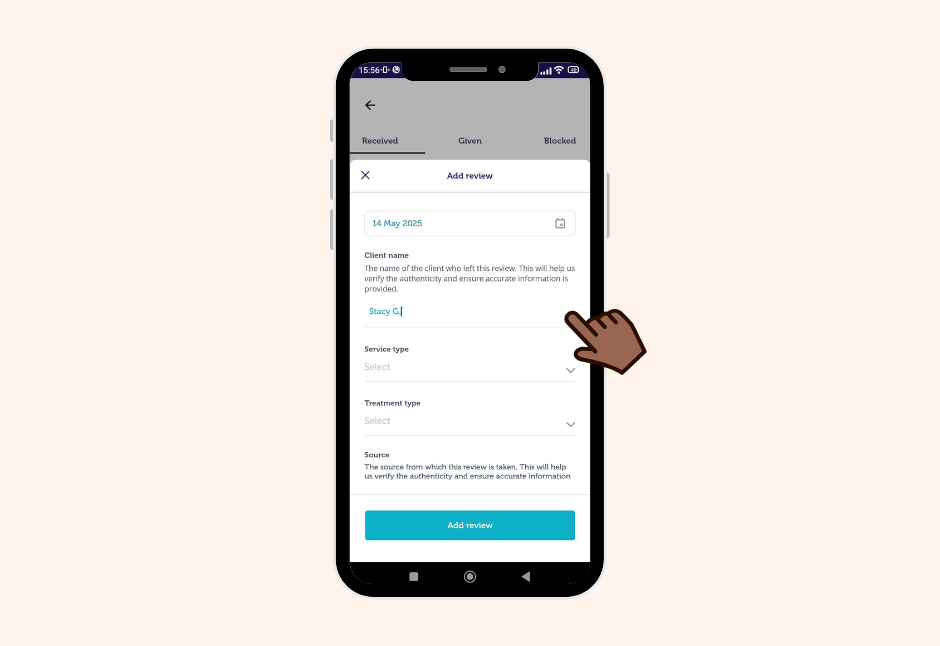
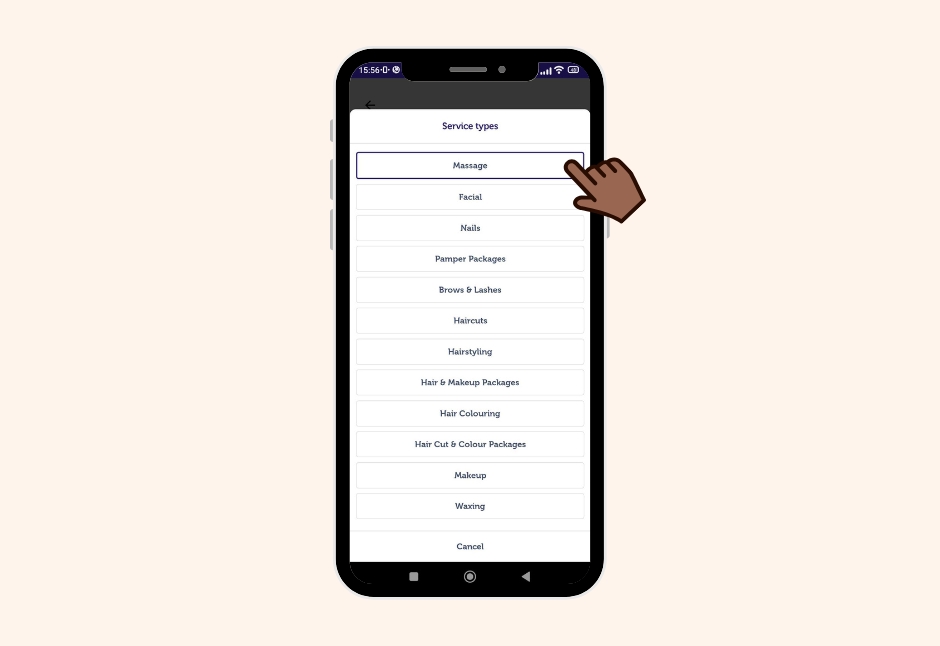
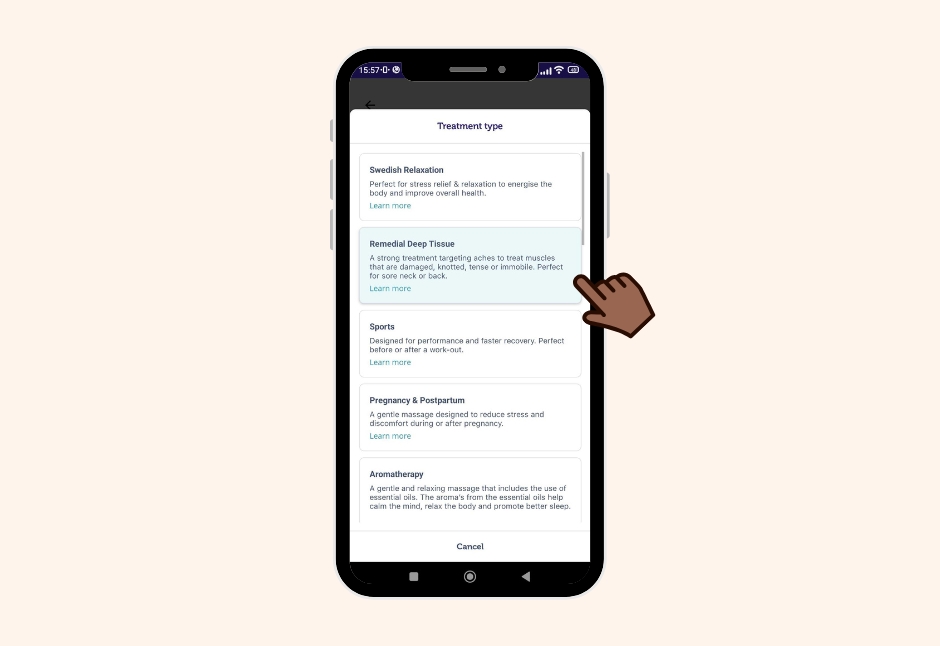
7. Select the Service Type and Treatment Type the client booked.
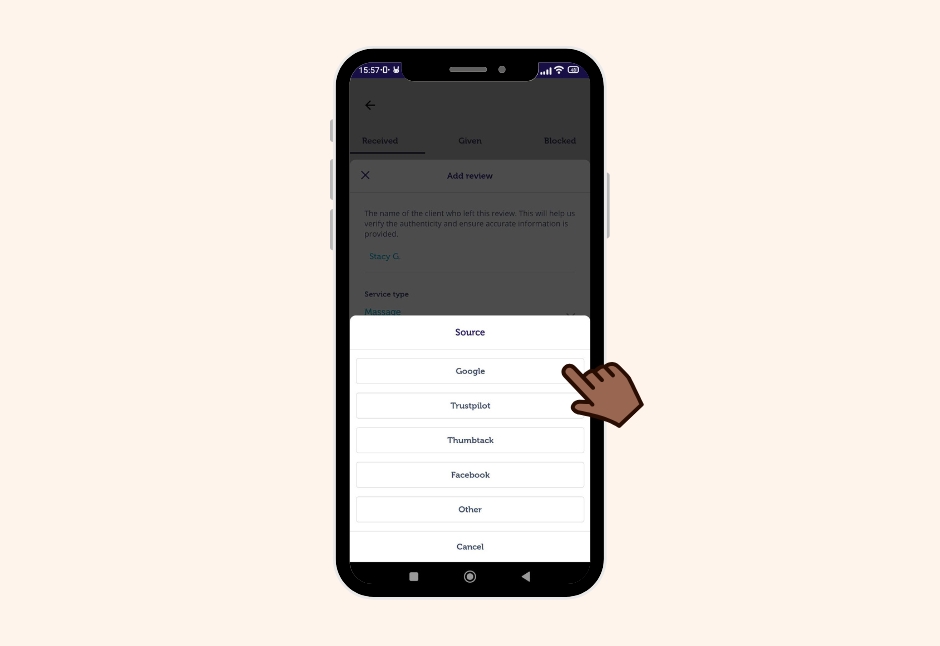
8. Add the Source of the review (e.g. Google, Facebook, email, etc.). However, this step is optional.
9. Tap on Add Review and see it appear on your profile.
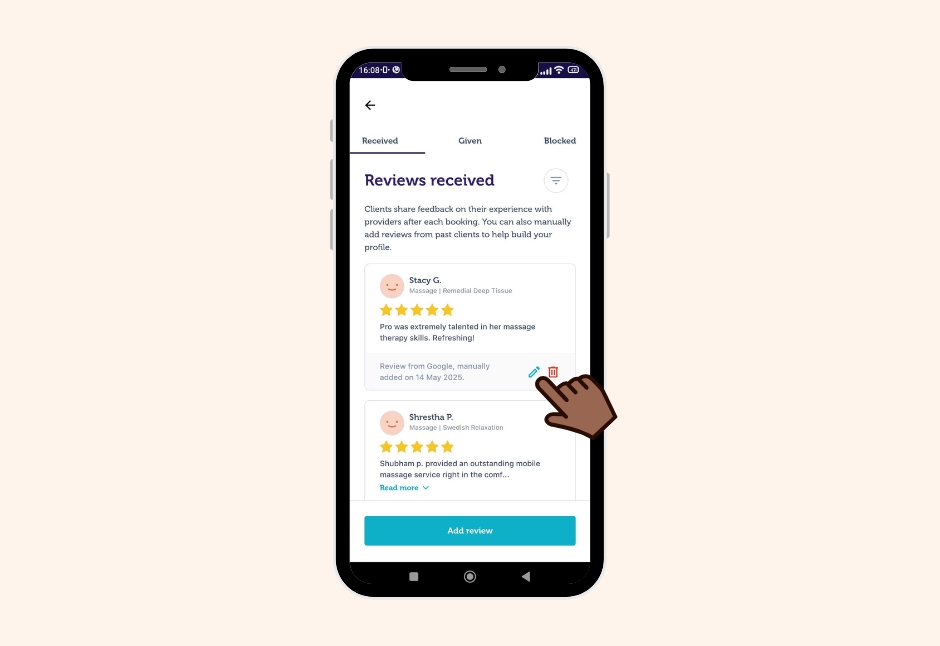
10. To edit the Review added, go to your Reviews Received section and tap on Edit Review.
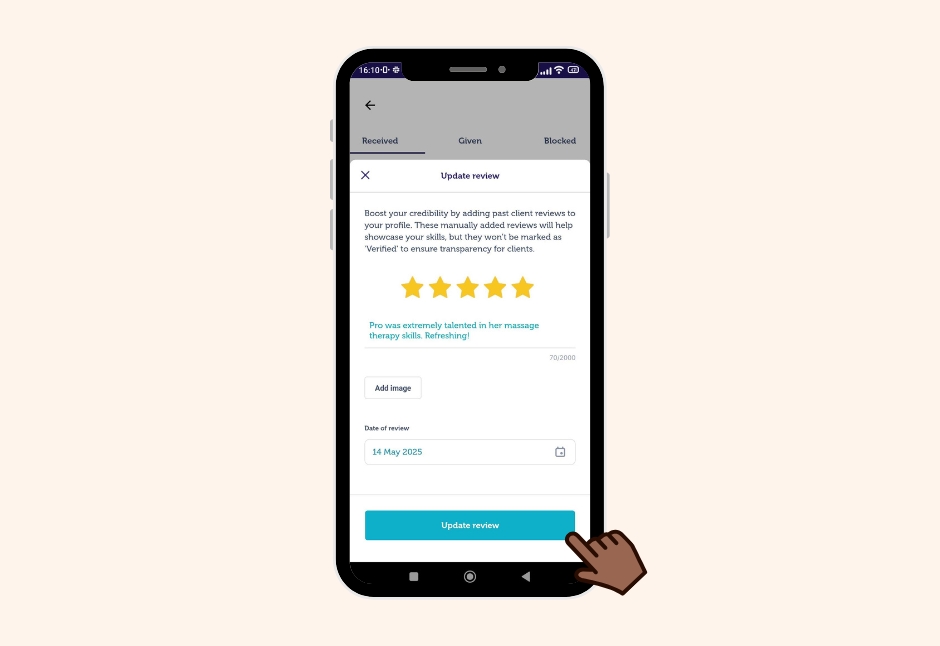
11. Make the necessary changes and tap on Update Review.
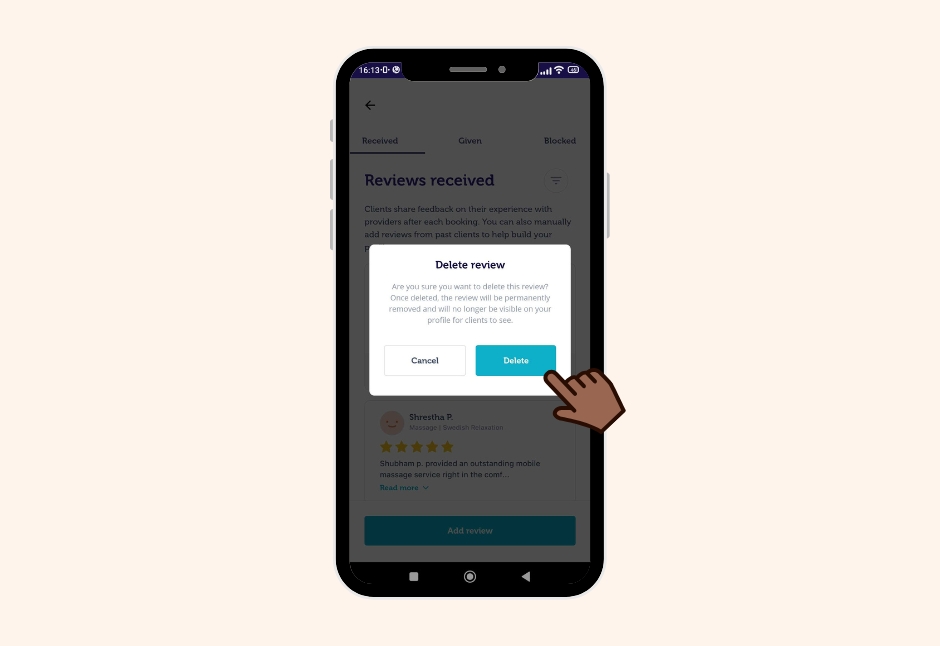
12. To delete the Review added, go to your Reviews Received section, and tap on Delete Review under the review you want deleted.
13. After the confirmation message appears, tap on Delete to permanently remove the review from your profile.
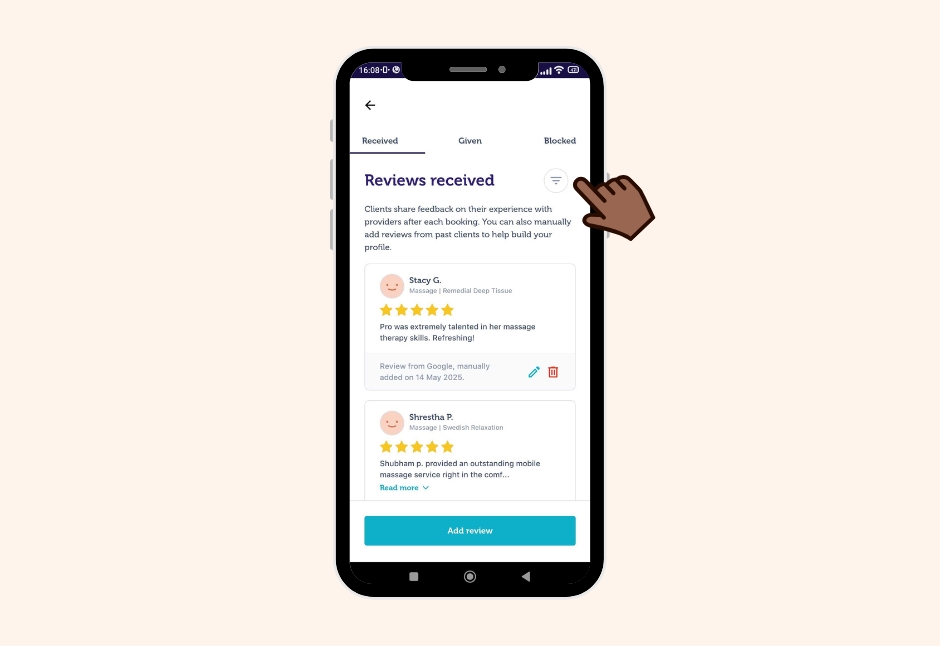
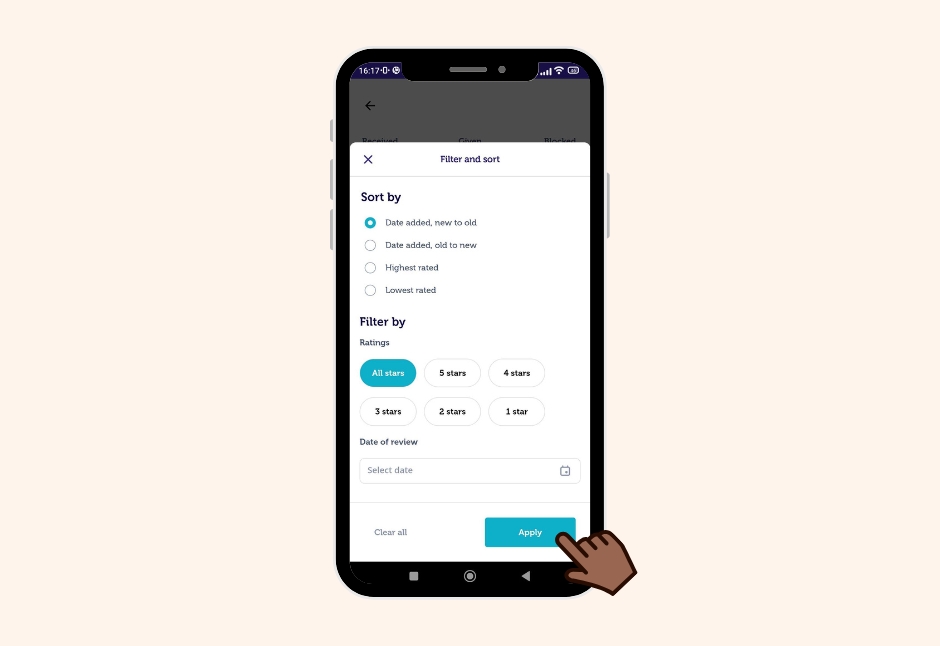
14. You can also sort the reviews in the order they appear on your profile depending on various criteria such as Date of Review and Ratings. Tap on Filter & Sort on your Reviews Received page.
15. Sort according to your choice and tap on Apply.
For PC
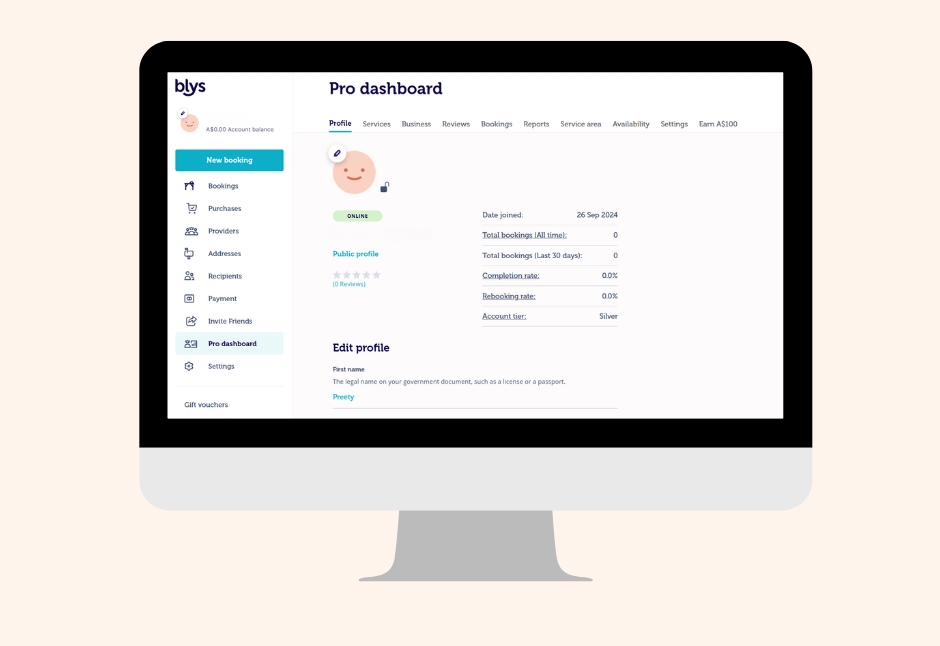
1. Go to Pro Dashboard.
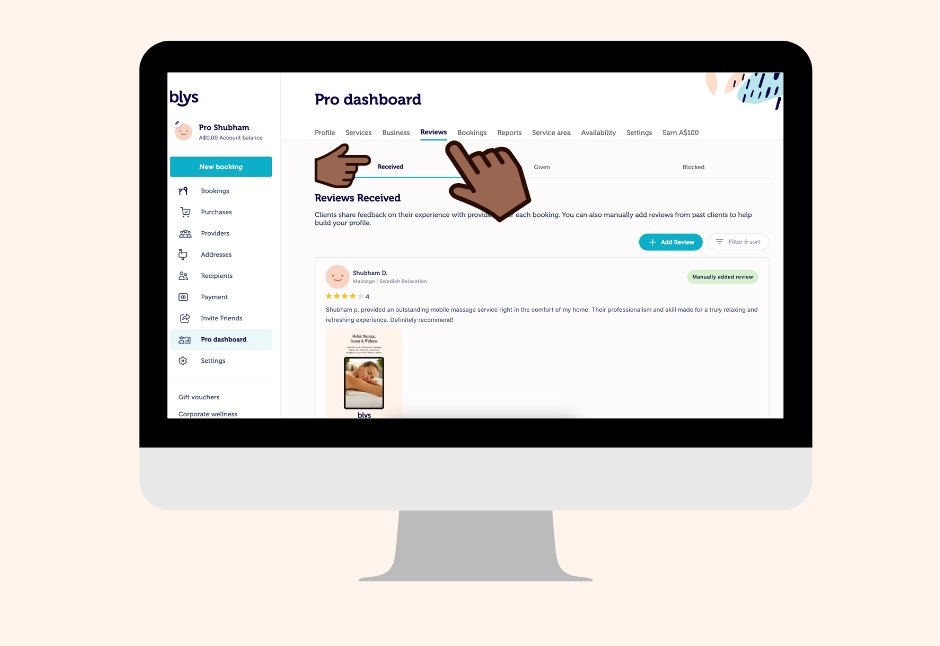
2. Navigate to Reviews > Reviews Received.
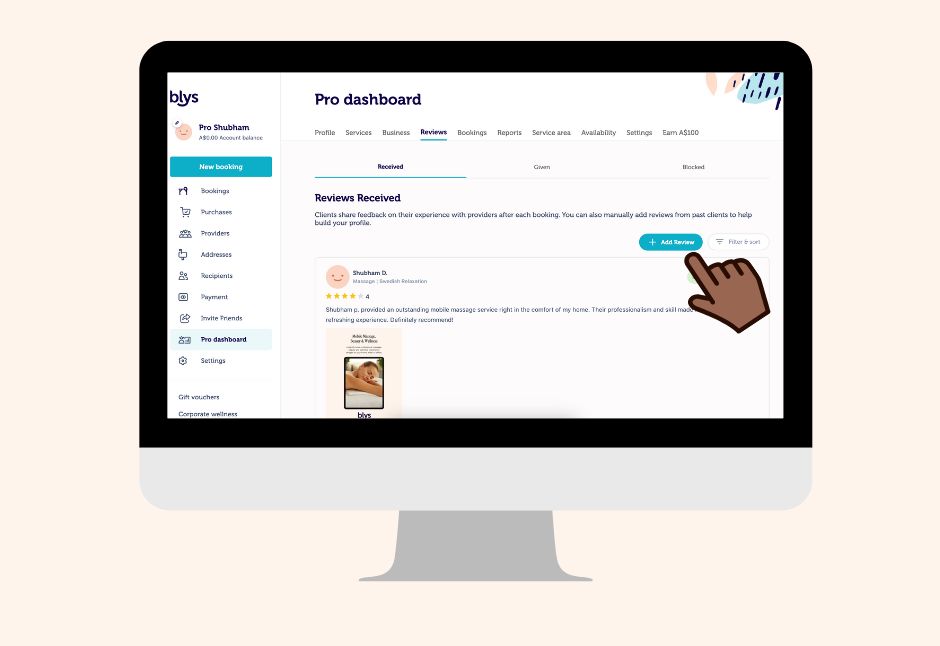
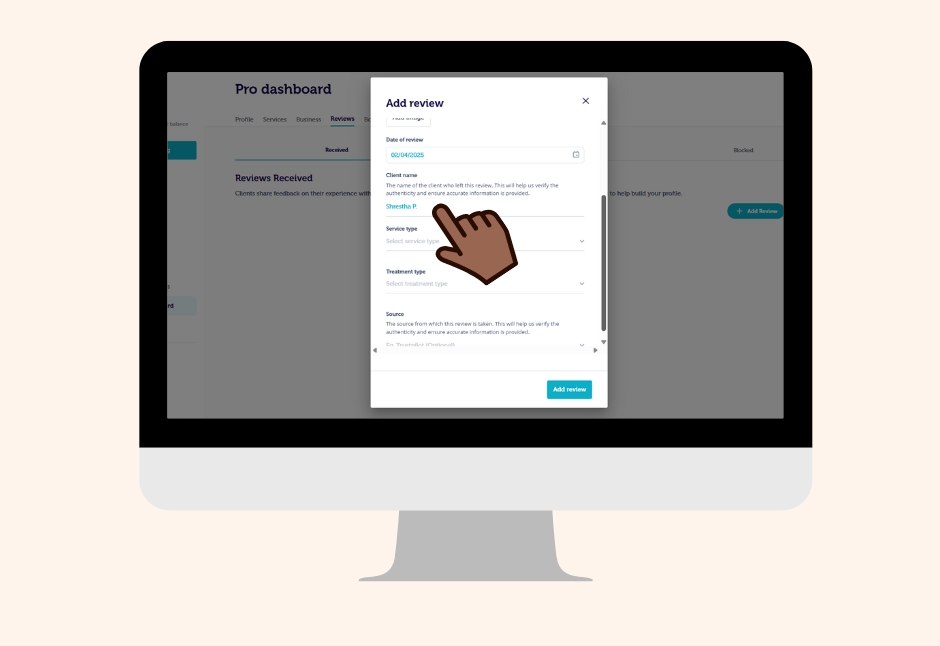
3. Click on Add Review.
4. Add your Rating and Review description. Upload Images to enhance the review (if available).
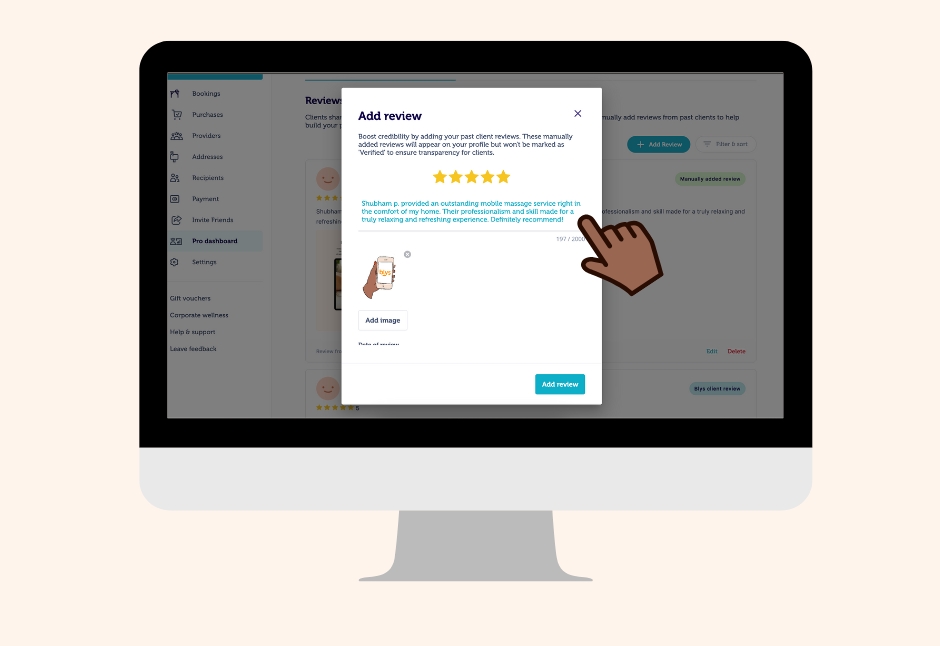
5. Select the Date of Review.

6. Add Client’s Name for authenticity.
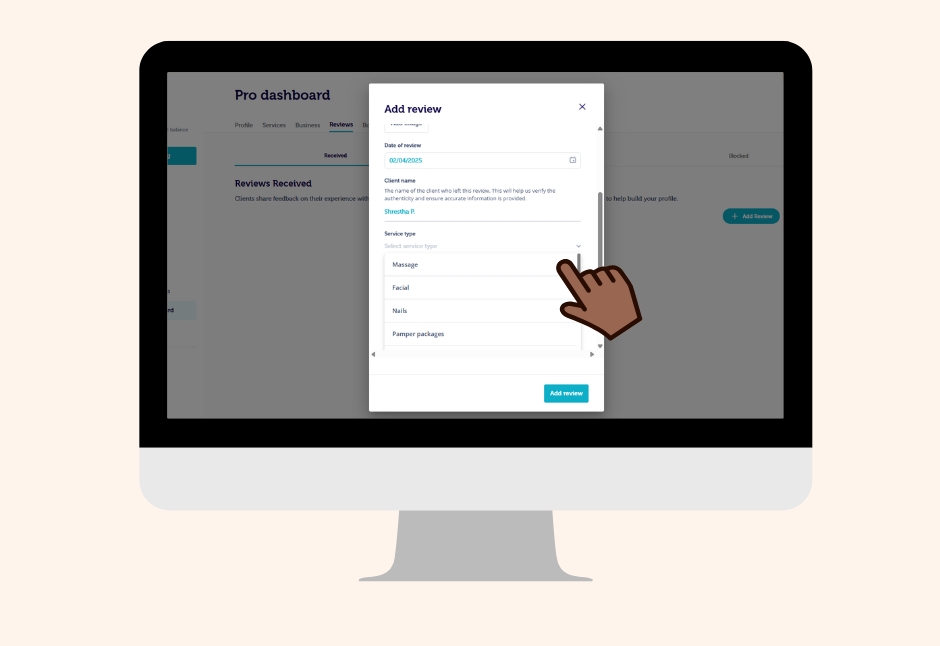
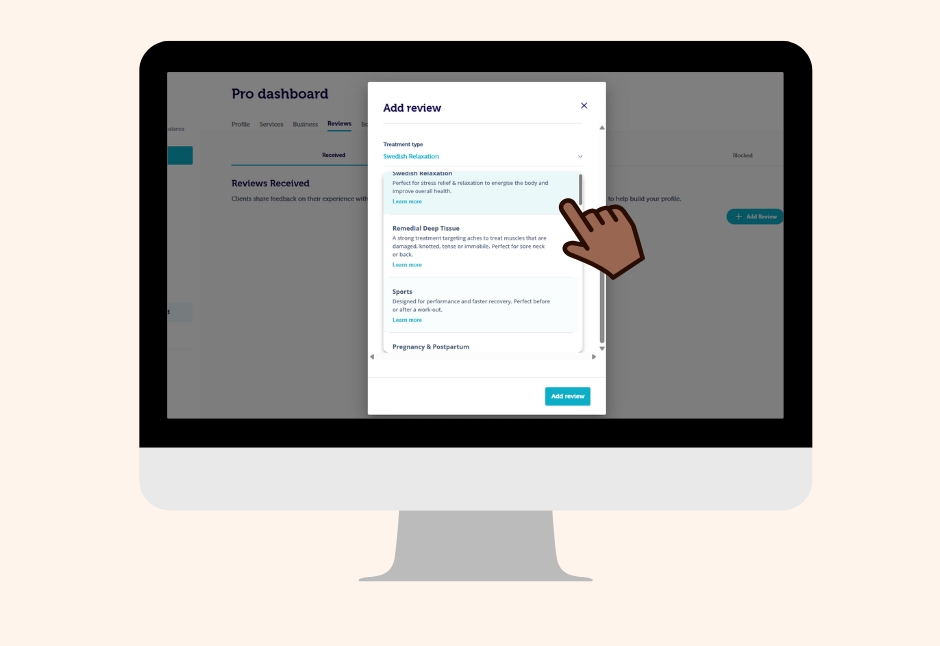
7. Choose the Service Type and Treatment Type that the client booked.
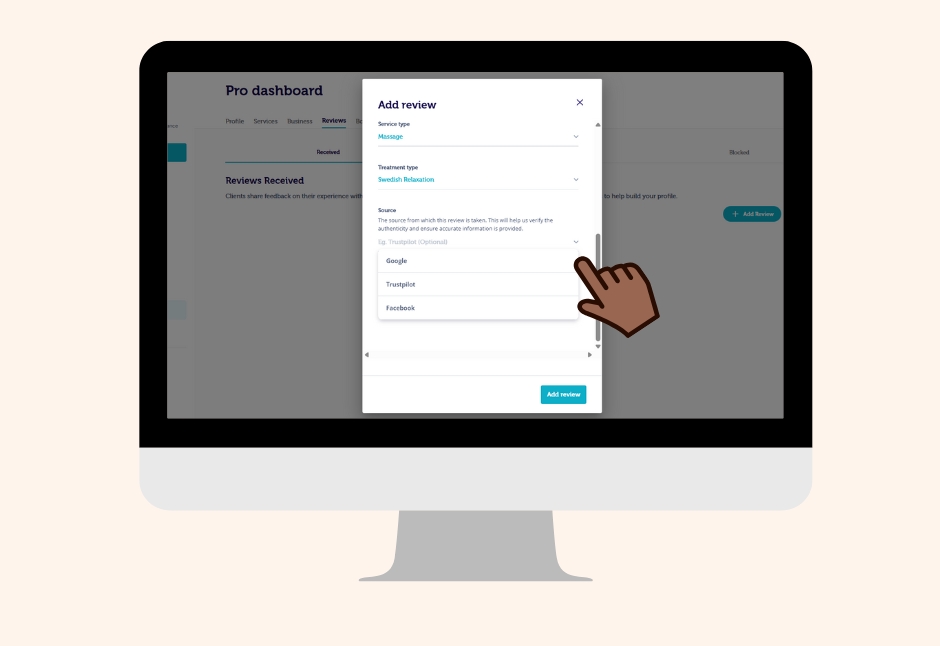
8. Add the Source (e.g. Google, Facebook, email, etc). However, this step is optional.
9. Click on Add Review to save and see it appear on your profile.
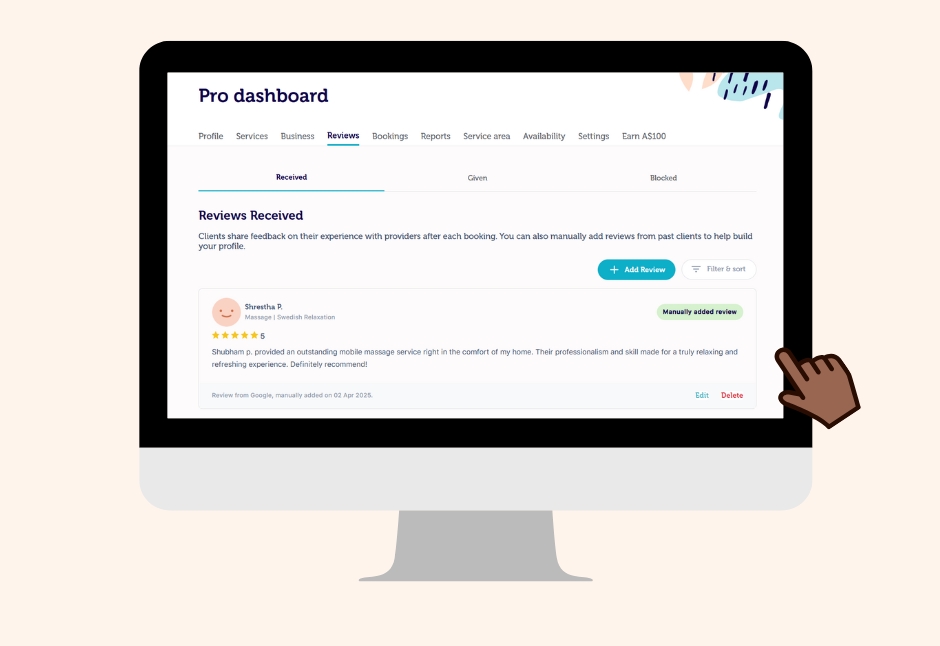
10. To edit, click on Edit under the review you need edited, and Save Changes.

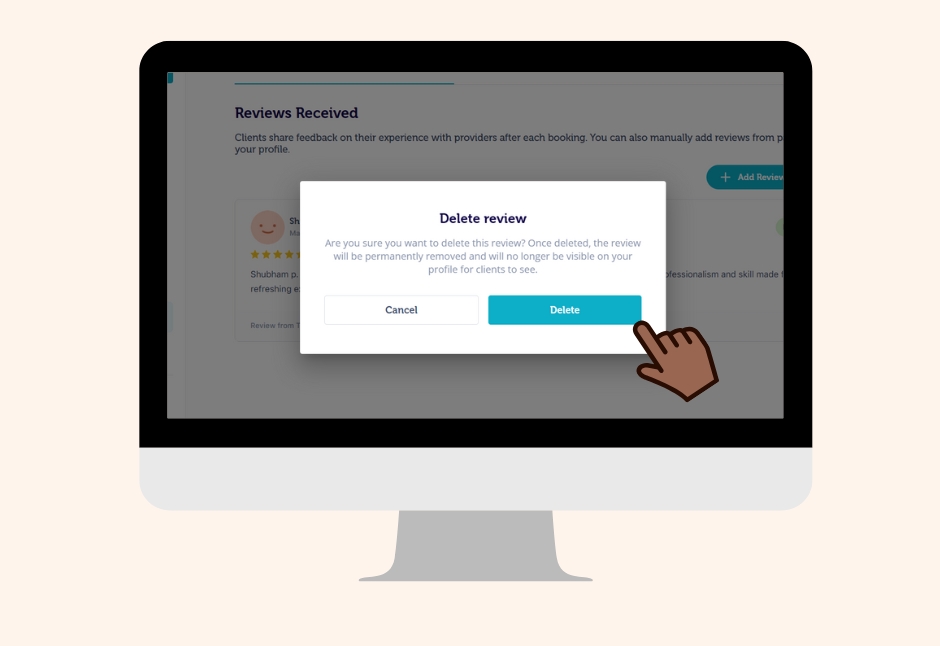
11. To delete the review, simply click on Delete. A confirmation message appears, after which you can delete the review permanently.
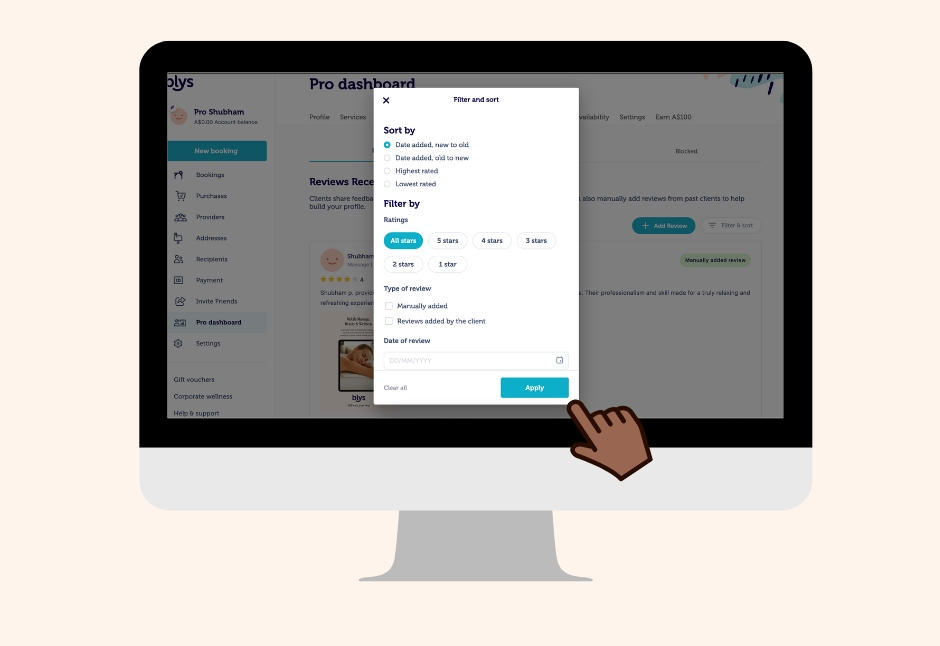
12. You can also sort the reviews in the order they appear on your profile depending on various criteria such as Date of Review and Ratings. Click on Filter & Sort on your Reviews Received page, and apply the changes made.
Need help? You can contact our support team if you need assistance with adding reviews to your profile or refer to this detailed help center article.
The more great reviews you showcase, the more clients will trust and book your services. Log in now and add your best client reviews to your profile!